Apparatus and techniques in science
Worksheets and lesson ideas to challenge students to think hard about apparatus and techniques in science (GCSE and Key Stage 3)
It’s amazing how far students can get in their science education without knowing the names of common lap apparatus such as spatula, tripod or conical flask. This can cause problems though because it can limit students’ ability to talk about the experiment and to plan out practical methods. The ideas below will hopefully help here, but the general principle is to spend time guiding students on how to use, draw and name different apparatus in the lab before they use it in a more complex procedure.
Naming and drawing scientific apparatus

Chemix is a free platform that students and teachers can use to draw lab diagrams. You could set various problems e.g. separate sand from water, that students then have to select and build the apparatus for. They could then label this diagram in a PowerPoint file before they submit it for feedback.
How to use the Bunsen burner
Key Stage 3 worksheet on how to use a Bunsen burner. This activity is a great way to make sure that students are clear on exactly what great practice looks like when using a Bunsen burner. It should be used after you have taught students how to use a Bunsen burner. Students work in pairs. One student is taking the test and the other is the examiner. The examiner asks the student to complete a series of tasks listed in the table. Once the test is over the roles are switched. (PDF)
Naming scientific apparatus – play Pick It!
An easy and fun way to get students to learn the names of apparatus is to play a simple game called Pick It. The rules are simple. Place all the apparatus for a practical on the front desk. Divide the class in half and then ask one member of the class to come to the front and ‘pick’ a specific item of apparatus. If they get it right the team gets a point. Now ask the other half of the class to pick a different item. Not only is this great AFL i.e. you can see when students pick the right and wrong apparatus, it is also fun and memorable.
Talk about it…
A student picks up (or is given) a piece of apparatus from the demonstration desk and talks about it without repetition or hesitation for as long as possible
Clamp and stands
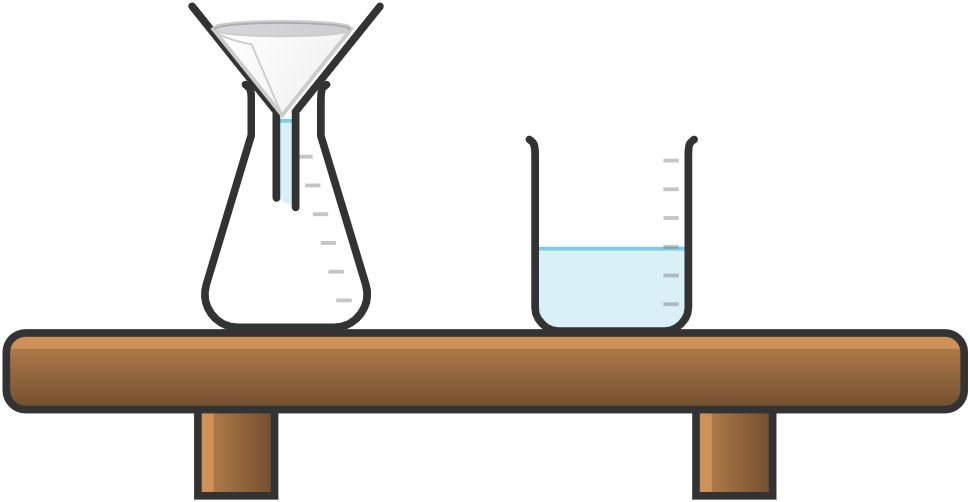
Clamp and stands can be quite tricky things for students to manipulate. But these pieces of equipment form an important safety role, especially when heating glassware. Rather than teaching students to use this equipment as part of a much bigger experiment, spend one lesson just on the clamp and stand. This could begin with a spectacular demonstration that requires this equipment and then the different parts are named (bosshead, retort stand and clamp). Students then assemble and dissemble their stand without, and then with, apparatus. Finally, you can challenge students to set-up a clamp and stand to filter a solution into a conical flask.
