Zooming in and out in science
One of the greatest challenges for any science teacher is that we forget what it feels like to be a novice. There’s a slight irony here, we need subject knowledge to teach, but the more subject knowledge we develop, the harder it is for us to think like our students! Take the example below – pretty straight forward isn’t it? A simple representation of the reaction of methane with oxygen to produce carbon dioxide and water.
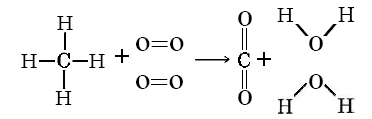
Well, it is simple, for an expert, but things get a little harder when you think about this diagram from the perspective of a novice.
- The expert sees methane and oxygen. The novice sees letters and words that make no sense.
- The expert sees a chemical equation. The novice sees a maths equation with the bonds representing minus and equals signs.
- The expert knows the order of the reactants don’t matter. The novice thinks methane must always come before oxygen.
- The expert understands that these molecules are 3D. The novice thinks these molecules are flat.
I suppose you would expect that the novice is at least clear on what the arrow means? But I am not so sure. Arrows are used to represent lots of different things in science lessons: energy transfer, what eats what, a force, a label for a diagram, movement of electrons or the direction of a chemical/physical change. You see, nothing is as simple as it seems!
Zoom zoom
And this leads me on to thinking about zooming. Zooming allows us to represent and understand objects at different scales. Science teachers are unbelievably good at moving from the molecular, to the microscopic to the macroscopic and back again. We have developed the ability to zoom in and zoom out and so we can take any aspect of science e.g. an equation for combustion and relate it to the macroscopic world e.g. a gas cooker at home, and so create meaning. Students, or novices, find this difficult.
You can see this for yourself if you visit a Yr7 science lesson. Most students have no problem in labelling simple diagrams of animal and plant cells. But, if you then ask them “where could you find a cell?”, they generally seem quite perplexed. This is because students have not had enough practice at thinking about how the cell pictures they label, relate to the whole organism. In this way, students are good at learning isolated parts but they struggle to see how these parts relate to what they see down the microscope or in the mirror. I suppose an analogy here would be learning about a town but having no idea where in the world it was located.
So, is this ability to zoom hard? I’m not so sure it is. I just think that as experts we assume far too much and pay too little attention to helping students move between different representations and scales. How many of us actually get students to zoom in on the cell membrane in Yr7 to see that it is made of particles and then zoom out again to show where the cell sits in the tissue, organ or organism? It’s this intentionality to move between the macroscopic i.e what we can see, to the scientific i.e. what we can’t, that is so important in science teaching as it enables students to link the familiar to the unfamiliar and therefore construct meaning.
How can we help students to zoom so that representations can be understood?
 Solutions to help students (or novices) zoom do not need to be elaborate. They are the small things that great science teachers do everyday but have crucial significance in helping students understand scientific ideas.
- Use software to help students appreciate at what scale they are working. Simply showing something magnified won’t help orientate students, it’s the the act of zooming that is important, as it shows the relationships between the different scales. http://scaleofuniverse.com/
- Start from the macroscopic and concrete and move to the microscopic and more abstract. Bridge this carefully. I remember a lesson where students were challenged to cut a piece of paper into the smallest possible piece. This then led to a discussion about atoms. On the surface this could look gimmicky, but actually made the bridge from concrete to abstract seamless. When teaching cells, start by getting students to look at their own cells first and always get them to make their own slides. Giving student pre-prepared material removes the bridge to the organism.
- Get students to draw, on the same diagram, the same objects but at different magnifications. Here is a great example on separation techniques – particle diagram revision contributed by Claire Couves.
- Place different representations side by side so that students can see how the same phenomenon e.g. balancing equations, can be represented in different way and at different scales s e.g. with symbol equations and molymods.
- Get students to arrange objects in order of increasing size e.g. gene, chromosome, atom, nucleus.
 What scale are we working at today?
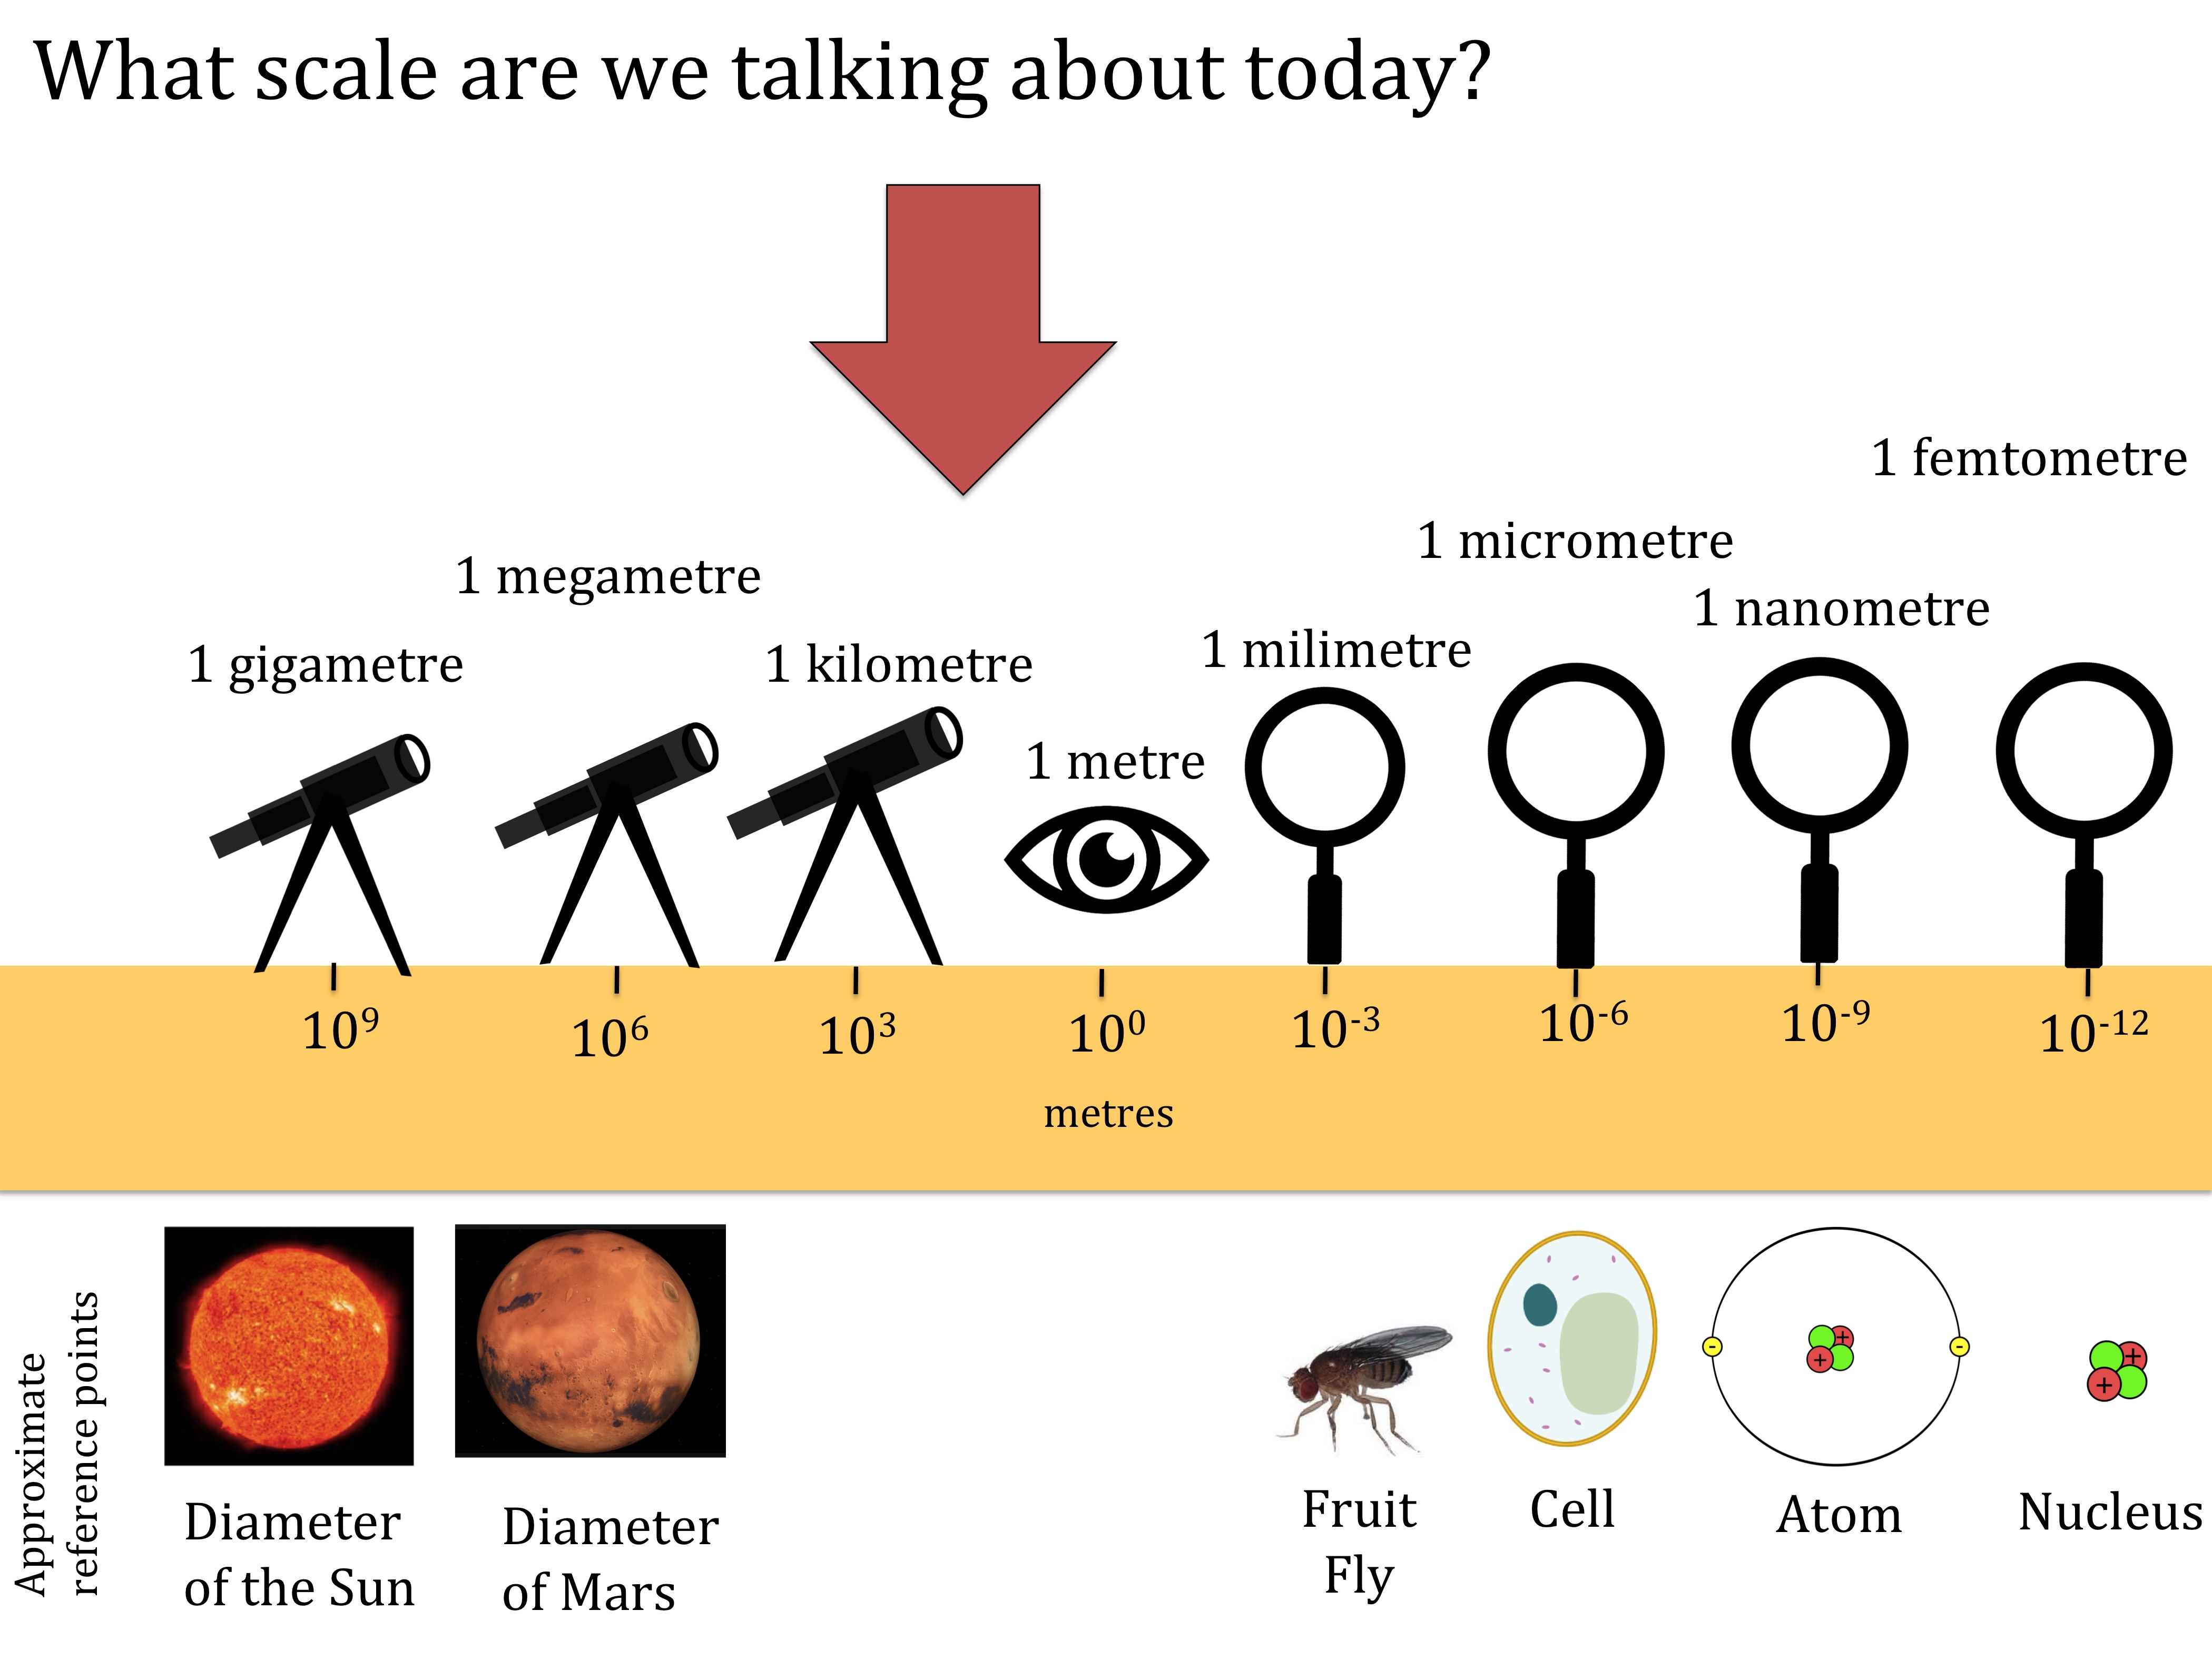
Download this simple graphic to help students understand what scale they are studying. Students find it hard to move between the molecular, microscopic and macroscopic. This should help. Stick the scale to your classroom wall. You can position the arrow at the correct place for each lesson. This helps to orientate students so they understand what scale they are working at. (PDF)
Further reading
- Hattie, J., & Yates, G. C. (2013). Visible learning and the science of how we learn. Routledge. Chapter 2.
- Taber, K. S. (2013). Revisiting the chemistry triplet: drawing upon the nature of chemical knowledge and the psychology of learning to inform chemistry education. Chemistry Education Research and Practice, 14(2), 156-168.
Leave a Reply